
Kombucha 101 | Growing Your Own Kombucha SCOBY


In this series, Kombucha 101, I’m going to walk you through the process of making your own kombucha at home with ingredients you likely already have. Let’s get makin’.
Part 1: Growing Your Own Kombucha Scoby
Part 2: Brewing Your First Batch of Kombucha
Part 3: Bottling and Flavoring Homemade Kombucha
Ah, the SCOBY. The gelatinous, awe-(or ugh)-inducing source of all kombucha yumminess. If you’re reading this article, you’ve likely encountered a mini-SCOBY in your days of drinking commercially-produced kombucha. If not, take a peek inside the next bottle of kombucha you purchase. See all of those cute floaties? They are by-products of their “mother,” the SCOBY, from which that very kombucha has been made.
The SCOBY, or Symbiotic Culture of Bacteria and Yeast, is the main ingredient used in the production of kombucha. Without it, your kombucha batch is pretty much DOA. No, really — the SCOBY is a home for all of the living probiotic bacteria necessary to transform your tea into fizzy kombucha. It also acts as the seal to prevent any undesirables from entering your kombucha from the outside, such as bad bacteria or mold.
Although you can’t have kombucha without a SCOBY, it’s possible to make your own at home instead of purchasing a SCOBY online or hunting one down on local buy-and-sell pages. Plus, you’ll be able to trace the source of every kombucha batch you made because you’ll be starting right in your own home.
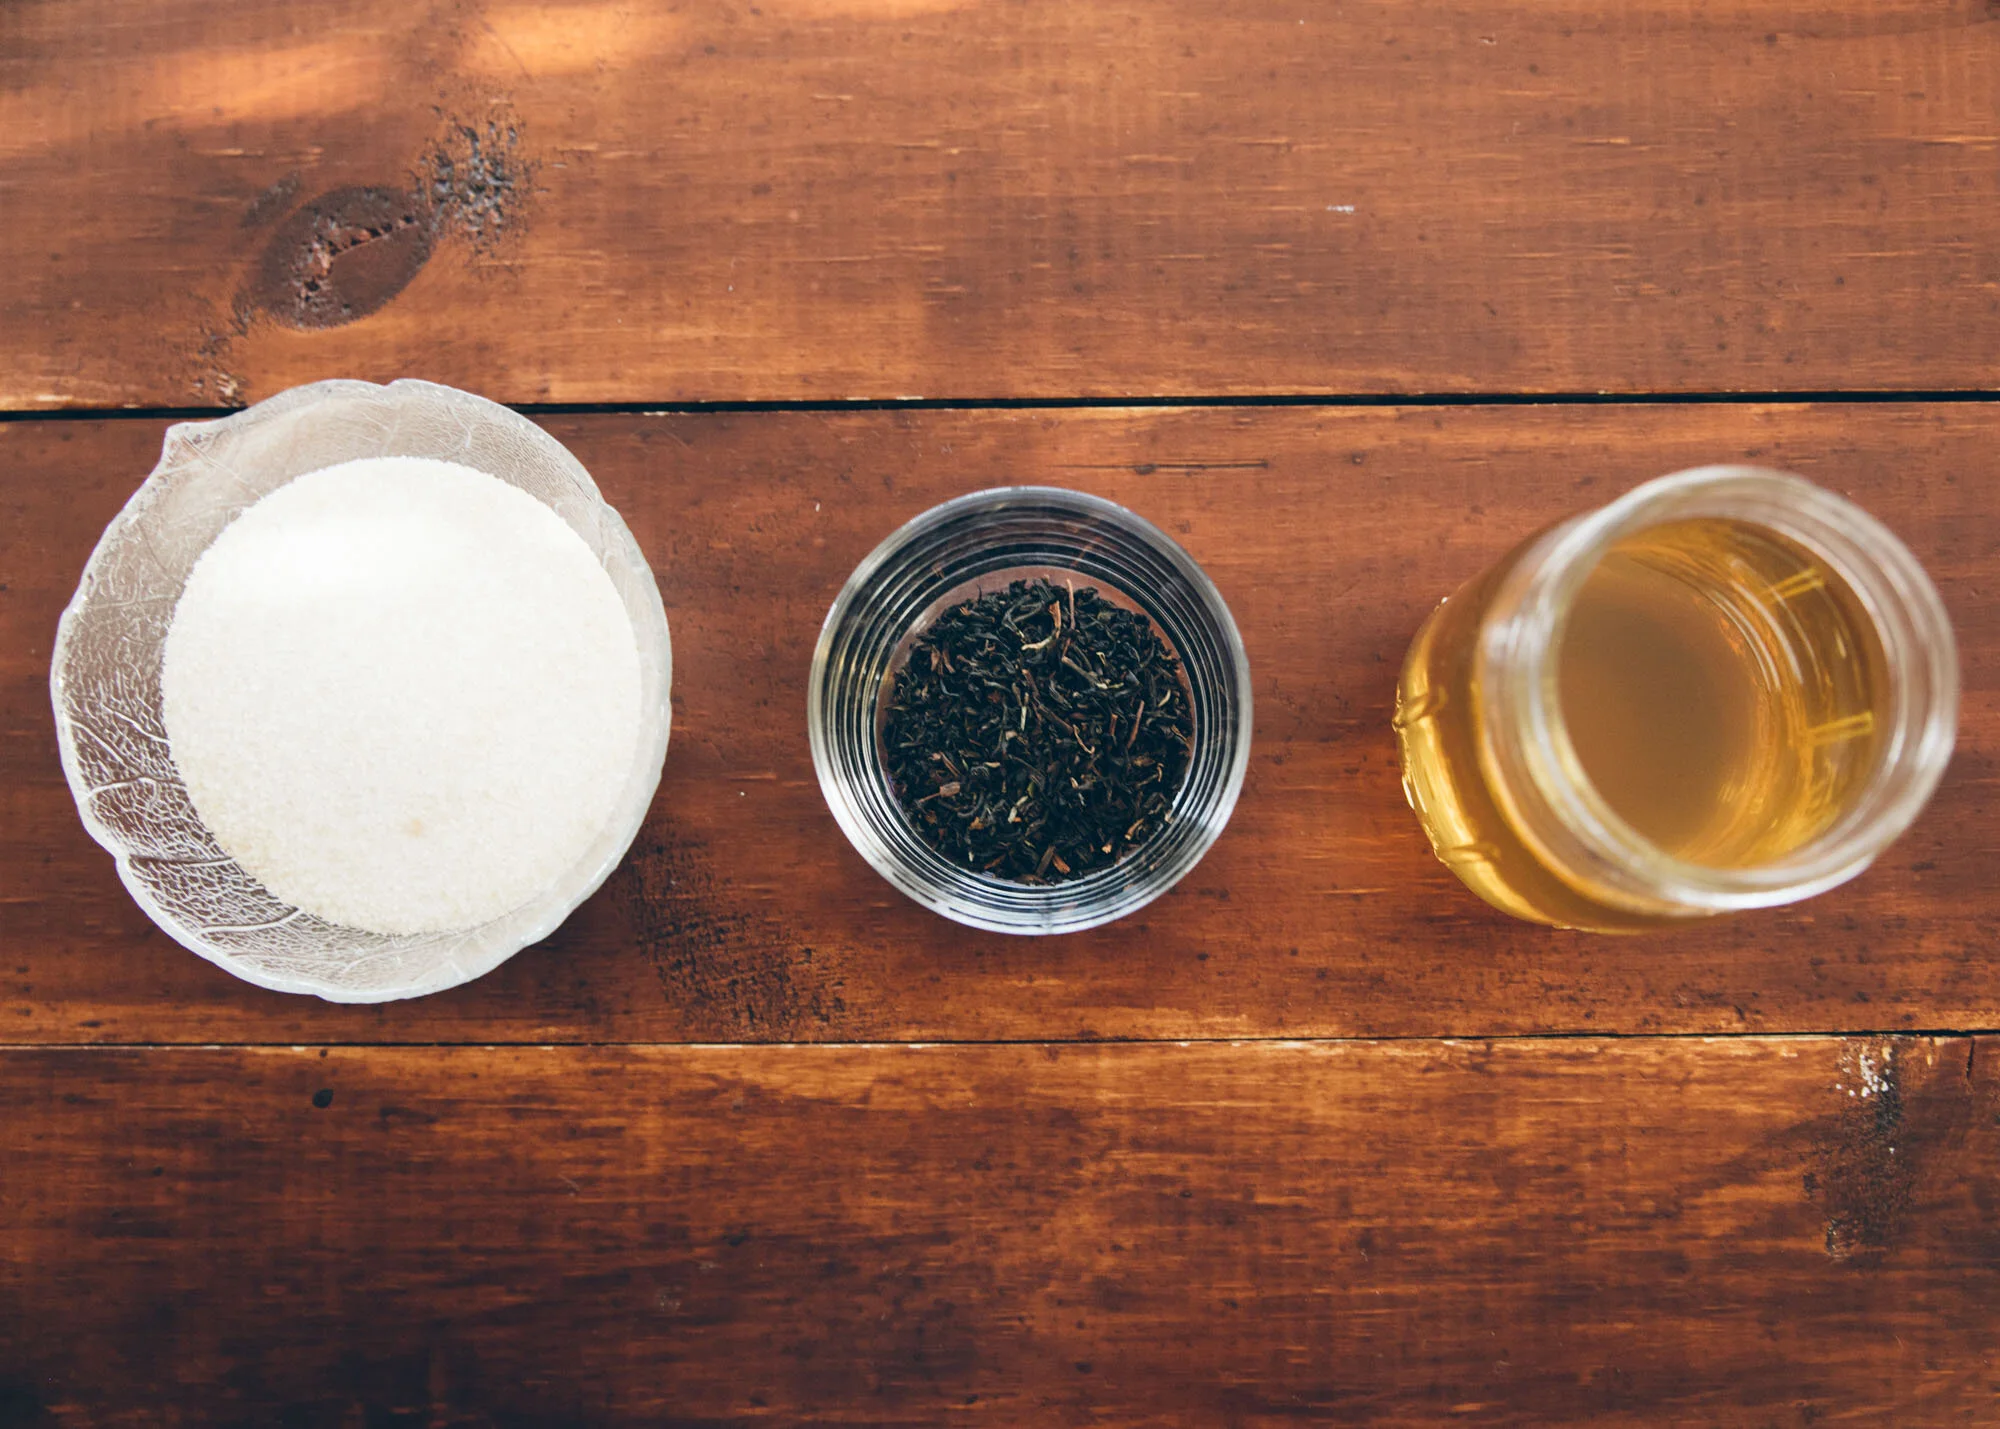
All you need to get started is a fermentation vessel, organic black tea, organic unflavored kombucha, sugar, scrap cloth, and a rubber band. Oh, and about 3-4 weeks of patience — a rare ingredient, at least in my household.
HOW TO MAKE YOUR OWN KOMBUCHA SCOBY
First, gather all of the necessary supplies:
A fermentation vessel - You can go big with these 1-gallon jars, or use a smaller 1-quart mason jar to get started. I’ll be using a gallon batch in this recipe, but the ratios remain the same. Use this handy kitchen conversions calculator, if needed.
2 tbs. loose or 8 bags of organic black tea - Go for any variety of black tea, bagged or loose, as long as it’s unflavored, oil-free, and organic. I’ve had lots of luck with loose Assam black tea.
2 c. organic, unflavored, unpasteurized kombucha - This will act as your “starter” tea. Instead of purchasing a bottle, you can ask any of your kombucha-making friends for a bottle to get you started.
1 c. sugar - It’s best to go with your standard white cane sugar here and no, you cannot substitute with honey in this step.
Scrap cloth & rubberband - This combo will act as a breathable cap to your fermentation vessel, allowing air to circulate without getting bugs or other baddies inside your experiment.
A large pot & wooden spoon - you can also use a kettle and a heat-safe pitcher; whatever is easiest!

STEP 1: MAKE YOUR TEA
Once you have all of your supplies gathered, the process is as simple as making a batch of sweet tea. Make sure your fermenting vessel and kitchen utensils are sparkling clean to minimize the chances of bad bacteria entering your batch.
Bring one quart of water to a boil and remove from heat. Add 1 cup of sugar to the pot and stir until dissolved. Add in either 8 bags of tea or 2 tbs of loose tea contained in a mesh tea strainer and stir to combine.
Allow the tea to steep according to the product instructions. I usually let the tea steep for longer since we’re essentially creating a hyper-concentrated sweet tea, but if you want to minimize your variables, just follow the instructions on the tea packet. Remove the teabags or strainer and allow the mixture to cool slightly.
Once cooled, pour the sweet tea into your fermentation vessel. Add about two more quarts of lukewarm water to the vessel, ensuring that the surface of the tea is as large as possible (filling your vessel to the top will only grow a SCOBY as wide as the mouth of the jar). Stir to combine.
STEP 2: COMBINE YOUR STARTER
Your sweet tea should be no warmer than room temperature, and no cooler than 60 degrees. Any hotter or colder temps may kill the yeast in your starter tea. Once your sweet tea is at room temp, add two cups of the starter tea to your mix and stir to combine.
Cap your vessel by covering it with a piece of sturdy, yet breathable cloth. Don’t opt for cheesecloth here - there’s plenty of room for fruit flies to wander in between the weave. Secure the cloth to the vessel with a rubber band.

STEP 3: WAIT PATIENTLY
On a post-it note or a piece of masking tape, mark the date and type of tea and affix the note to your vessel. Hide the tea in a dark and dry place, such as a kitchen cabinet, for 3-4 weeks, checking once every few days for SCOBY growth.
What will start off as tiny bubbles will merge into a beautiful gelatinous pancake over the course of just a few weeks. I usually allow the SCOBY to grow ¼ inch thick before using it in my subsequent batches.
With every batch of kombucha, your SCOBY will grow thicker and mightier. Treat her with kindness, and she will reward you with endless kombucha and, eventually, layers of SCOBY that you can share or use for supplemental vessels.
TROUBLESHOOTING
If you encounter weird blotches or discolorations on your SCOBY, don’t fret! No two SCOBYs are the same, and the resulting growth patterns can have you scratching your head. When growing a SCOBY at home, look out for:
Weird smells. Kombucha has a distinct vinegary smell, but your tea and SCOBY should never smell foul or unpleasant. If you are unsure, toss your batch and start fresh.
Mold. Your SCOBY may have brown or white dots in clusters, but these are generally harmless unless they look fuzzy. If you see a large cluster of dry, fuzzy-looking growths, toss your kombucha, sanitize your vessel, and start fresh. There’s no fixing a moldy SCOBY.
Fruit flies. As long as your fermentation vessel is covered with a tightly-knit cloth, you needn’t worry about fruit flies attacking your SCOBY. However, if the awful buggers somehow inch their way into your concoction, don’t assume you can pick them off and go about fermenting. Toss the batch and start again.
TIPS
Storage & Feeding. Your SCOBY can realistically live in its vessel for months at a time; eventually, it may grow as big as the container itself. However, to maintain a happy, healthy SCOBY, you’ll need to “feed” it with sweet tea every once in a while. There’s no exact science to how often you need to feed your SCOBY since everyone’s environment and naturally-occurring bacteria vary, but I recommend feeding your stored SCOBY once every 3-4 weeks.
Sharing your SCOBY. With every new batch of kombucha, your SCOBY will get thicker and thicker until eventually, you are able to peel off a layer and “gift” a SCOBY to a friend, or even begin a new batch of kombucha in a different vessel. To share your SCOBY, remove your SCOBY from the fermentation vessel with very clean hands and find a noticeable crack in between layers. Peel the layers away from one another as gently as possible. Put your SCOBY back into its vessel. Bag the gifted SCOBY with a few inches of starter tea and give away immediately.
When your SCOBY is ¼ inch thick, healthy, and ready to go, it’s time to start brewing some of your own delicious homemade kombucha. Hint: it’s almost the exact same process as above. Happy brewing!

Next Up: Brewing Your First Batch of Kombucha
As a courtesy to my readers, I like to give you the head’s up that some posts contain affiliate links. I’ll never links out any product I wouldn’t personally use, and I always recommend that you borrow, make, or buy used when possible.


Minimize your hair washing schedule with this simple, two-ingredient DIY dry shampoo recipe.